Deploy in minutes
Step 0
First of all, you must get the latest version of CacheP2P:Step 1
Add this to the <footer> of all the pages:<script src="cachep2p.min.js"></script>
Loads the library that does all the magic.
Instanciates the library into the webpage.
It starts working right away but without security.
Step 2
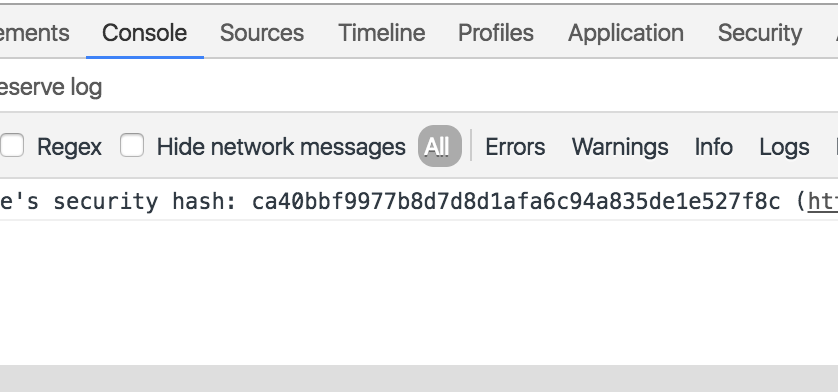
Open the console and get the security hash of every page.
Security hashes allow you to define the only content that is valid and that is in sync with the latest content of your website.
Step 3
Create a file called "cachep2p.security.js" with all the security hashes:
document.security_sha1 = {
  'http://cachep2p.com/':                   '8a01e1d8c19294d6ad9a4af20cdab1798e4111b2',
  'http://cachep2p.com/documentation.html': 'c49db33e97c4f81d8fd7b705e707031a37fbdb1c',
  'http://cachep2p.com/contact.html':       '299e74db8950463efa30fb5f30bc17d2fcb5b801',
}
Step 4
Add the three files to the <footer> of all the pages:<script src="cachep2p.min.js"></script> <script src="cachep2p.security.js"></script> <script src="init.js"></script>
It's important to have them in the correct order.
Step 5 (Optional)
If you want to get fancy, you can show the events any way you want:cachep2p.on('ready', function(){
console.log('This page has been cached!')
})
cachep2p.on('message', console.log)
cachep2p.on('alert', console.log)
cachep2p.on('success', console.log)
You are all set. For information about all the events that CacheP2P emits, and how everything works internally, check the API.
